3D Contact Angle method
The 3D Contact Angle is an optical method developed by KRÜSS for measuring the wettability of a surface using a dosed drop of water. The method, which is based on reflections at the drop’s surface and laser distance measurement, works particularly robustly, is hardly susceptible to interference and is therefore especially suitable for quality control (QC) of pretreated, cleaned, or coated surfaces.
What are the advantages over conventional contact angle measurements?
The sessile drop dosed for a measurement is a three-dimensional object that is captured by the conventional shadow image method as a 2D profile projection from the side. The drop shape analysis carried out subsequently is a classic and proven method, but it is not always fully automatic. Especially the baseline, the transition between drop shape and solid surface, must be set or corrected manually for some samples.
With the 3D Contact Angle, a digital spatial image including the height and curvature is reconstructed from the top view perspective on the drop and the contact angle is determined from this. Finding the baseline is not necessary and the method provides a reliable result without user intervention and independent of the sample properties.
The advantages are even greater compared to the top view diameter method. This determines the outer diameter of the drop, which correlates with the contact angle for a given volume. The method works less and less reliably from higher contact angle values and requires a very precisely dosed drop volume. With the 3D Contact Angle, the latter is only used as additional supporting information to make the measurement even more robust.
How does the 3D Contact Angle method work?
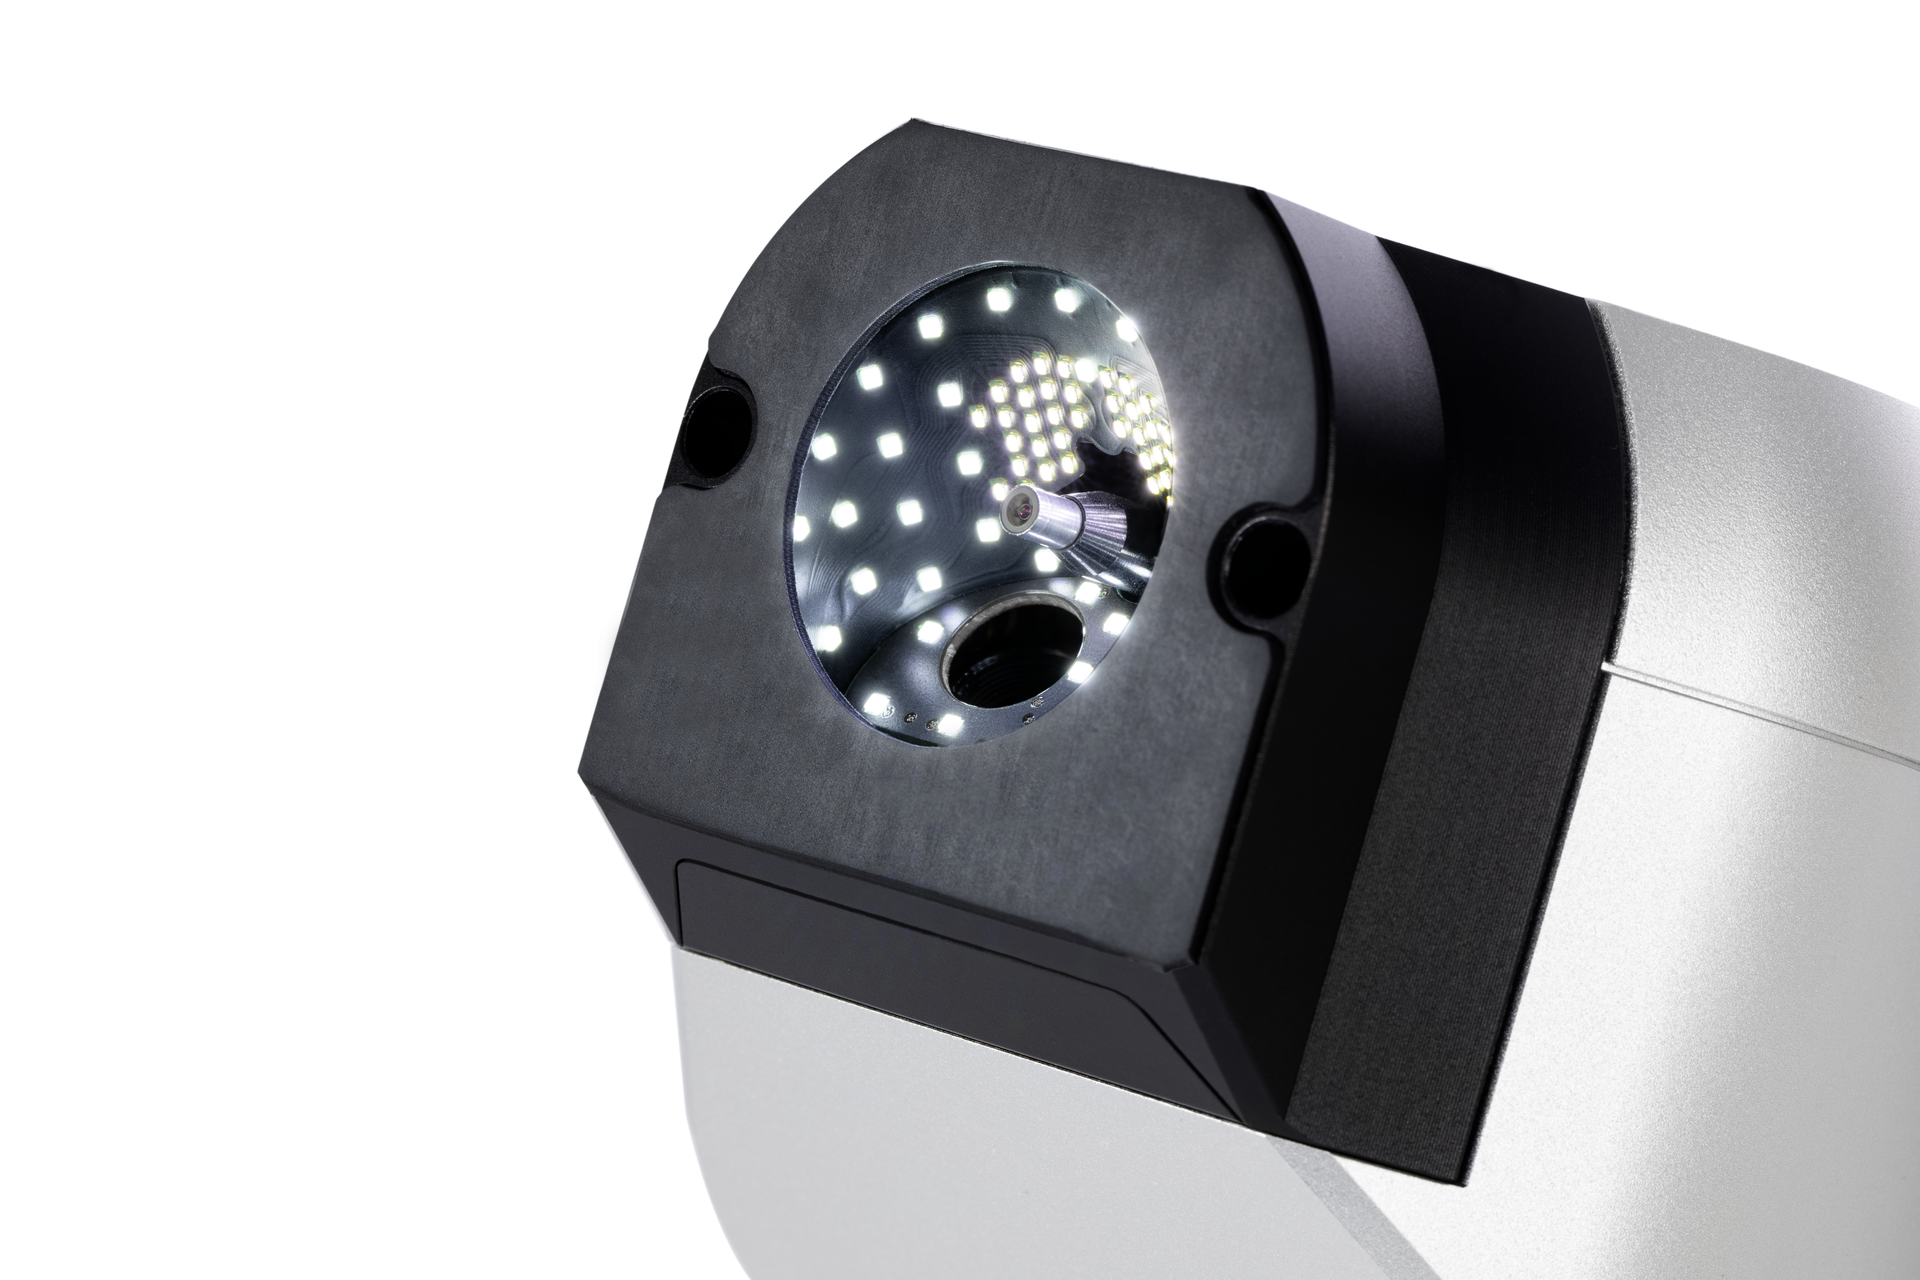
The heart of the measuring technology for the 3D Contact Angle is a spherical hood-shaped measuring head with 90 LEDs arranged in precise positions. These generate different light patterns in very rapid succession, the reflections of which are recorded by two cameras.

The real drop and its curvature are reconstructed step by step from the reflection images, with the algorithm generating an increasingly realistic 3D model of the droplet from step to step. The modeling of the droplet also includes data from two laser distance detectors.
Why is the method approach particularly suitable for quality assurance?
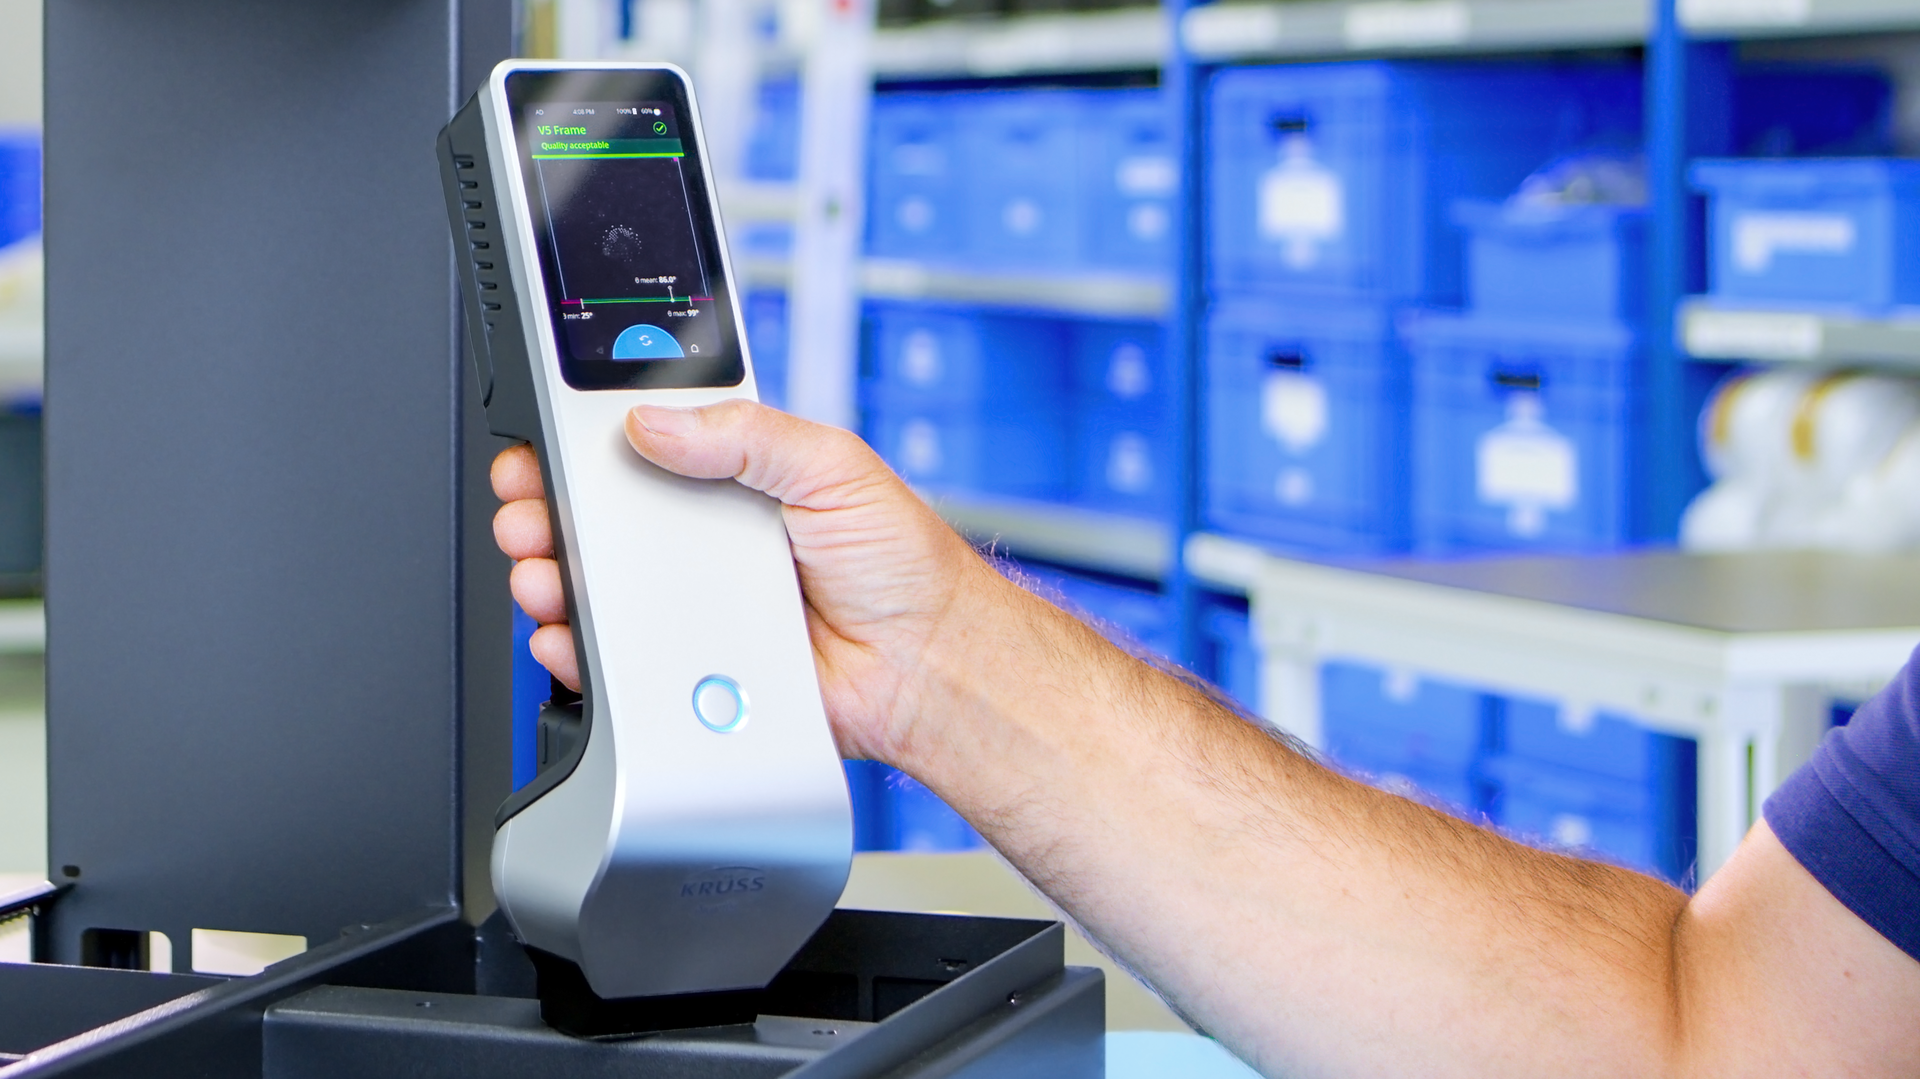
The 3D Contact Angle has achieved a strong miniaturization of the measuring technology, which makes mobile use in QC possible. In Ayríís, the first instrument for the 3D Contact Angle method, the measuring head is located in a compact handheld device with an integrated dosing unit. The device is operated via a touch display and it works completely autonomously, i.e. without a computer connection or external power supply.
Even more important for QC measurements is the robustness of the method and its independence from user intervention or interpretation. The evaluation of the reflection patterns generated on the drops, the laser distance measurement and, if necessary, the volume is based on a huge amount of data, which allows an accurate and fast calculation of the drop shape and the contact angle. At the same time, a check of the plausibility and consistency of the result takes place.
In order to also objectify the quality evaluation of the material based on the contact angle, a clear passed/failed message is displayed in addition to the measured value based on preset limits, which can be defined for different sample types. These advantages enable safe and fast material testing and process optimization.

